Top 12 Tool Designer Skills to Put on Your Resume
In a crowded job market, a Tool Designer’s resume has to do more than list software. It should tell a sharp story about precision, manufacturability, and speed from concept to shop floor. Pick skills that show how you think, how you solve problems, and how your designs survive the real world of tolerances, tooling wear, and production deadlines.
Tool Designer Skills
- AutoCAD
- SolidWorks
- CATIA
- Pro/ENGINEER (now PTC Creo)
- Siemens NX (Unigraphics)
- Creo Parametric
- Mastercam
- GD&T (Geometric Dimensioning and Tolerancing)
- FEA (Finite Element Analysis)
- 3D Printing
- CNC Programming
- Injection Molding
1. AutoCAD
AutoCAD is a CAD platform for fast, accurate 2D drafting and solid/ surface 3D modeling. Tool designers lean on it for clean drawings, clear layer control, and shop-ready documentation.
Why It's Important
It delivers precision and repeatability. That means fewer reworks, easier collaboration with machinists, and drawings that map cleanly to manufacturing steps and standards.
How to Improve AutoCAD Skills
Move beyond lines and layers into a tuned workflow.
Nail the fundamentals: drafting commands, constraints, layers, blocks, xrefs, and plotting.
Practice on real parts: rebuild legacy drawings, reverse-engineer a fixture, replicate shop sketches into formal prints.
Customize: tool palettes, aliases, scripts, templates, and title blocks to match your shop standards.
Learn 3D and parametrics: model tooling components, use constraints to lock design intent, and drive families of parts.
Automate: dabble in AutoLISP or scripts to batch tasks and standardize output.
Stay current: review new-release notes and fold useful features into your daily setup.
How to Display AutoCAD Skills on Your Resume
2. SolidWorks
SolidWorks blends parametric 3D modeling with simulation and drawing tools. It’s a workhorse for tooling assemblies, motion studies, and detailed shop prints.
Why It's Important
You can design fast, check fit and motion, spot clashes, and generate clean manufacturing drawings with fewer surprises on the machine.
How to Improve SolidWorks Skills
Think in features and design intent, not just shapes.
Advanced sketches and parts: relations, equations, configurations, and design tables for families of tools.
Assemblies at speed: robust mates, patterns, layout sketches, and top‑down techniques.
Automate: templates, macros, and the API to kill repetitive clicks.
Validate: run basic Simulation to check stiffness, stress hot spots, and factor of safety early.
Adopt new features: review what’s new each year and fold in the gems that save time.
How to Display SolidWorks Skills on Your Resume
3. CATIA
CATIA excels at complex surfacing, large assemblies, and specialized manufacturing toolsets. It’s common in aerospace, automotive, and high‑precision tooling ecosystems.
Why It's Important
For intricate tools and tight interfaces, its surfacing and domain workbenches (mold, sheet metal, composites) keep geometry clean and production‑ready.
How to Improve CATIA Skills
Specialize and practice on real geometry.
Formal training: build a base, then target the workbenches you actually use.
Project‑driven learning: replicate a mold insert, a progressive die, or a complex jig end‑to‑end.
Explore advanced modules: Mold Tooling Design, Sheet Metal, Generative Shape Design.
Templates and standards: title blocks, drafting standards, parameters, and catalogs to keep outputs consistent.
Community and documentation: learn tricks, troubleshoot weird geometry, and keep pace with updates.
How to Display CATIA Skills on Your Resume
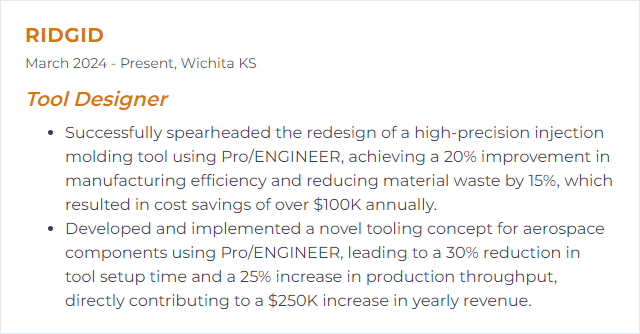
4. Pro/ENGINEER (now PTC Creo)
Pro/ENGINEER, rebranded as PTC Creo, brought parametric modeling to the mainstream. Many shops still have legacy Pro/E data alongside modern Creo projects.
Why It's Important
Knowing the legacy environment helps you migrate, revise, and maintain older tooling while leveraging current Creo features for new designs.
How to Improve Pro/ENGINEER Skills
Bridge the old with the new.
Revisit fundamentals: sketches, features, relations, and regeneration order.
Tooling add‑ons: explore Tool Design‑focused options for molds, dies, and fixtures.
Workspace tuning: mapkeys, config files, start parts, and drawing templates.
Parametric rigor: use parameters and design intent so edits don’t explode the model.
Community and release notes: practical fixes, migration tips, and productivity tweaks.
How to Display Pro/ENGINEER Skills on Your Resume
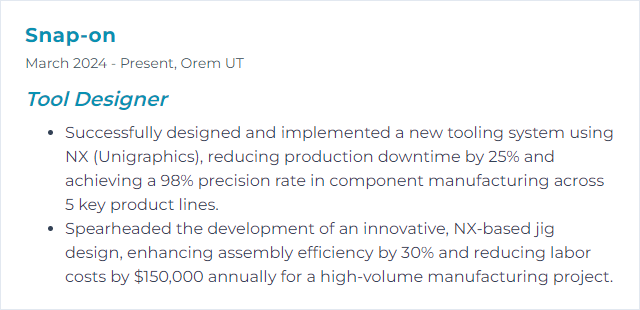
5. Siemens NX (Unigraphics)
Siemens NX (formerly Unigraphics) is an integrated CAD/CAM/CAE suite used heavily for high‑end tooling: molds, progressive dies, fixtures, and complex machining.
Why It's Important
Design, simulate, and program in one ecosystem. That tight loop shortens lead times and reduces handoff errors.
How to Improve Siemens NX Skills
Target the pieces you’ll use daily.
Structured learning: follow NX learning tracks and focus on Tooling and NX CAM.
Library parts and re‑use: standardize components, attributes, and drafting styles.
Real‑world models: practice with public CAD libraries and rebuild complex tooling you admire.
Shortcuts and customization: roles, menus, hotkeys, and journals to speed repetitive tasks.
Stay updated: review new features; adopt those that cut cycles in CAM and design.
How to Display Siemens NX (Unigraphics) Skills on Your Resume
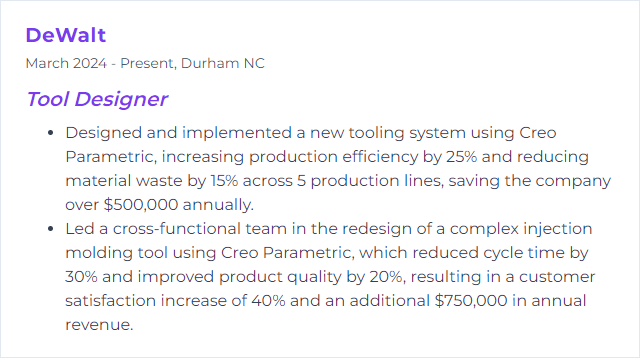
6. Creo Parametric
Creo Parametric is PTC’s flagship for robust parametric modeling, surfacing, assemblies, drawings, and tooling extensions.
Why It's Important
For tooling changes and variants, its parametrics, top‑down design, and surfacing make edits safer and faster.
How to Improve Creo Parametric Skills
Design intent first, features second.
Core mastery: sketches, features, layers, family tables, simplified reps, and drawings.
Advanced modeling: surfaces, skeleton models, top‑down assemblies, and merge/inheritance.
Sheet metal and mold: learn the dedicated toolsets that mirror shop processes.
Automation: mapkeys, relations, parameters, and start parts to enforce standards.
Keep pace: review release notes and fold improvements into templates.
How to Display Creo Parametric Skills on Your Resume
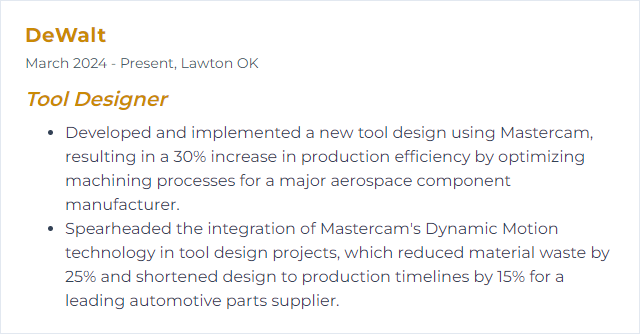
7. Mastercam
Mastercam is CAM software for programming CNC toolpaths. Tool designers use it to bridge clean geometry with fast, safe machining.
Why It's Important
Tighter toolpaths, better surface finishes, shorter cycle times. That’s money and time saved on every run.
How to Improve Mastercam Skills
Make the machine hum, not hesitate.
Formal courses: start with fundamentals, then dive into 3D and multi‑axis strategies.
Toolpath strategy: high‑efficiency milling, rest machining, stock models, and verify.
Post processors: tune posts and defaults to your shop’s machines and holders.
Community learning: study example files, compare approaches, and dissect cycle time differences.
Stay current: adopt new roughing/finishing tactics that reduce wear and heat.
How to Display Mastercam Skills on Your Resume
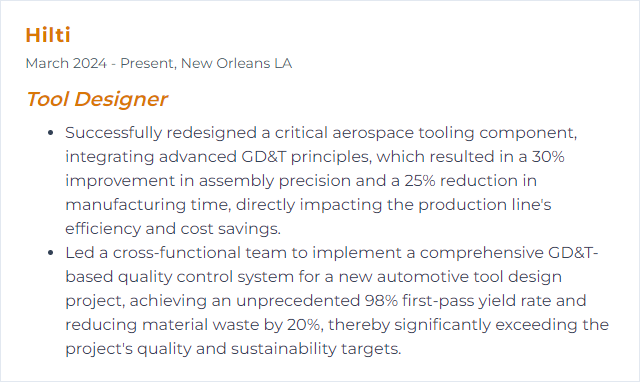
8. GD&T (Geometric Dimensioning and Tolerancing)
GD&T is the language of part function and variation. Symbols, feature control frames, and datums communicate what matters for fit, form, and function.
Why It's Important
Without clear tolerances, parts fight each other. With proper GD&T, components assemble smoothly, measurement is unambiguous, and scrap drops.
How to Improve GD&T (Geometric Dimensioning and Tolerancing) Skills
Think function first, then callouts.
Study the standard: learn the latest ASME Y14.5 concepts and intent.
Apply on real drawings: start with simple datums, add true position and profile where it counts.
Design‑measurement loop: align callouts with inspection plans and gaging strategy.
Peer reviews: short, regular reviews catch ambiguity early.
Practice with case studies: analyze failures and re‑draw with better scheme choices.
How to Display GD&T (Geometric Dimensioning and Tolerancing) Skills on Your Resume
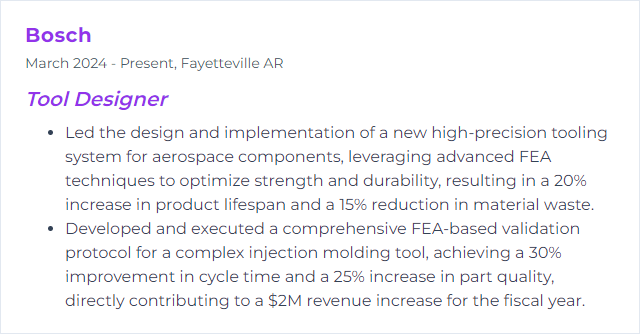
9. FEA (Finite Element Analysis)
FEA predicts how your tool or insert behaves under load, heat, vibration, and contact. Simulate before you cut steel.
Why It's Important
It spots stress risers, deflection risks, and thermal issues early, so you can reinforce, lighten, or tweak geometry before the expensive steps.
How to Improve FEA (Finite Element Analysis) Skills
Accuracy beats pretty plots.
Mesh strategy: refine where gradients are high; use convergence checks and adaptive methods.
Materials: use realistic properties (nonlinear where needed), and temperature‑dependent data when heat matters.
Loads and constraints: mirror real boundary conditions, contact, and preload. No over‑constraining.
Solver choice: match the problem—static, modal, thermal, contact, nonlinear.
Validate: compare against hand calcs, past test data, or known builds before trusting results.
How to Display FEA (Finite Element Analysis) Skills on Your Resume
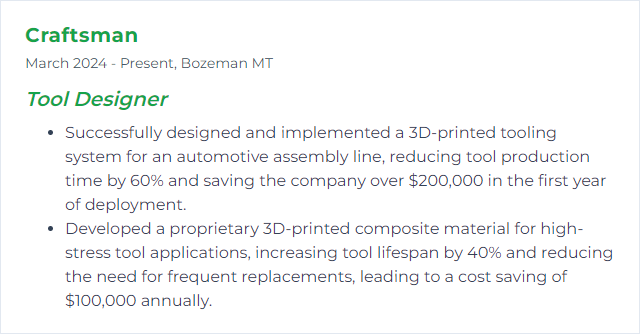
10. 3D Printing
3D printing turns CAD into parts layer by layer. For tooling, it shines in rapid prototypes, soft tooling, jigs, fixtures, and conformal features you can’t machine easily.
Why It's Important
Fast validation, custom geometry, shorter lead times. Iterate in days instead of weeks.
How to Improve 3D Printing Skills
Design for the process, not against it.
Optimize geometry: orient for strength and surface, add fillets, lighten with lattices, minimize supports.
Choose the right tech: FDM for rugged jigs, SLA for fine detail, SLS/MJF for strong, complex shapes; metal AM for inserts with conformal cooling.
Materials matter: match properties (heat, chemical exposure, wear) to the job.
Post‑processing: sand, vapor smooth, infiltrate, or heat‑treat to reach required finish and strength.
Iterate: print small sections to tune tolerances and fit before committing to full builds.
How to Display 3D Printing Skills on Your Resume
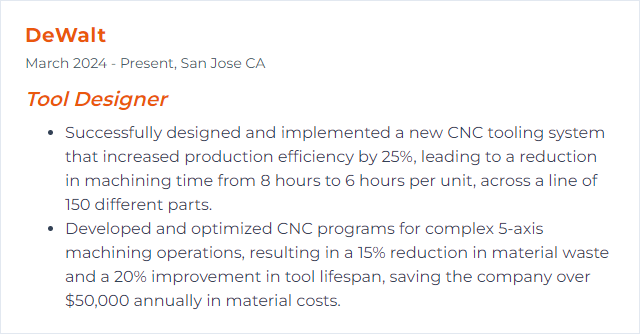
11. CNC Programming
CNC programming translates design intent into precise machine motion. From roughing to high‑finish surfacing, it’s where time and tool life are won or lost.
Why It's Important
Good code reduces scrap, speeds cycles, and keeps tolerances tight, batch after batch.
How to Improve CNC Programming Skills
Be deliberate about every move.
Deepen code fluency: G/M codes, macros, probing, and control‑specific quirks.
Master CAD/CAM: clean geometry in, clean toolpaths out; verify early and often.
Optimize toolpaths: constant chip load, stepovers, stepdowns, entry/exit moves, and tool engagement.
Rigorous simulation: machine simulation and collision checks before you press Cycle Start.
Tooling strategy: select cutters, holders, and coatings for the material; manage heat and deflection.
Shop feedback loop: listen to operators, review wear and chatter marks, and refine feeds/speeds.
How to Display CNC Programming Skills on Your Resume
12. Injection Molding
Injection molding makes parts by driving molten polymer into a cooled mold. Tool designers craft the mold so parts fill well, cool evenly, and eject cleanly.
Why It's Important
It enables high‑volume, repeatable parts with tight tolerances. A great mold pays for itself across thousands—or millions—of shots.
How to Improve Injection Molding Skills
Design the process into the tool.
Simulate flow and cooling: tune gates, runners, vents, and cooling channels; use conformal cooling where it makes sense.
Pick materials wisely: match mold steels, coatings, and plastics to wear, corrosion, and throughput needs.
Control warpage: manage wall thickness, ribs, draft, and fiber orientation effects.
Ejection strategy: balanced force with pins, sleeves, lifters, and stripper plates to avoid part damage.
Maintain relentlessly: documented cleaning, inspection, lubrication, and repair intervals keep cycles tight.
Prototype fast: soft tooling or printed inserts to de‑risk before cutting hardened steel.
How to Display Injection Molding Skills on Your Resume