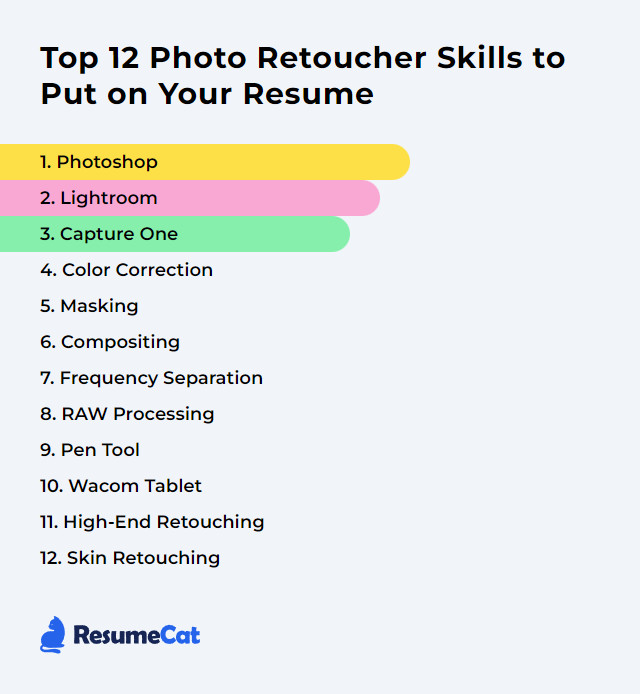
Top 12 Photo Retoucher Skills to Put on Your Resume
In today's visually driven world, having a polished resume with well-defined photo retoucher skills is crucial for standing out in the competitive field of digital imaging and photography. Highlighting the top 12 skills not only showcases your proficiency and adaptability but also signals to potential employers your commitment to excellence and attention to detail in transforming ordinary images into captivating visual stories.
Photo Retoucher Skills
- Photoshop
- Lightroom
- Capture One
- Color Correction
- Masking
- Compositing
- Frequency Separation
- RAW Processing
- Pen Tool
- Wacom Tablet
- High-End Retouching
- Skin Retouching
1. Photoshop
Photoshop is a digital imaging and graphics editing platform used heavily by photo retouchers to modify, enhance, and manipulate photographs with exacting control.
Why It's Important
Photoshop matters because it delivers the precision tools needed for world-class image adjustments, corrections, cleanup, and creative effects—without compromising quality.
How to Improve Photoshop Skills
Build muscle memory, deepen technique, and streamline your workflow. Then keep going.
- Nail the fundamentals: Layers, masks, selections, adjustments. Know them cold.
- Go deeper: Frequency separation, dodge and burn, advanced color grading, smart objects, blend-if.
- Automate the boring: Create actions for repetitive tasks and reusable presets for consistency.
- Expand with plugins: Retouching and color tools can speed up skin work, grain, and toning.
- Edit non-destructively: Work with adjustment layers, masks, and smart filters so changes stay reversible.
- Stay current: New features land often. Review release notes and test tools on throwaway files.
- Seek critique: Share work in professional communities and request targeted feedback.
Consistent practice—on varied images—sharpens judgment and touch.
How to Display Photoshop Skills on Your Resume

2. Lightroom
Lightroom is an editing and cataloging environment designed for efficient image management, fast global adjustments, and non-destructive processing across large shoots.
Why It's Important
Lightroom is indispensable for volume work: organized catalogs, rapid culling, batch edits, consistent looks, and clean handoff to retouching or export.
How to Improve Lightroom Skills
Speed meets consistency. That’s the goal.
- Tune performance: Optimize catalog settings, previews, and GPU options for snappy navigation.
- Memorize shortcuts: Faster flagging, rating, compare, and develop moves add up.
- Dial in presets and profiles: Build your own for repeatable color and tonal baselines.
- Use Collections and Smart Collections: Keep client sets, selects, and deliverables tight and traceable.
- Leverage plugins when useful: Tethering, publishing, and specialty edits can extend capability.
- Measure color: Calibrate your monitor (Calibrite ColorChecker Display or Datacolor SpyderX) to trust what you see.
- Back up: Redundant catalog and image backups. Cloud syncing where it makes sense.
- Keep learning: Follow release updates and sharpen craft through reputable training platforms and forums.
Refine a dependable workflow, then polish the small things—consistency wins.
How to Display Lightroom Skills on Your Resume

3. Capture One
Capture One is a professional RAW editor known for exceptional color, nuanced controls, and robust tethering—favored by studio teams and color-critical workflows.
Why It's Important
It excels at color accuracy, layer-based adjustments, and tethered capture, giving retouchers refined control from the very first frame.
How to Improve Capture One Skills
Lean into its strengths, customize relentlessly, and keep your workspace friction-free.
- Color Balance mastery: Use the 3-way wheels for shadows, mids, and highlights to lock in mood and accuracy.
- Non-destructive layers: Separate exposure, clarity, and color edits for targeted, reversible control.
- Custom workspace: Place tools you touch constantly within a single glance; map shortcuts to your habits.
- Sharpening and noise: Tune per image. Preserve texture without plastic edges and tame noise intelligently.
- Tether like a pro: Live view, styles on capture, and client review tools speed collaboration on set.
- Shortcuts: Customize them to mirror your Photoshop muscle memory where possible.
- Update routinely: New camera profiles, features, and stability fixes are worth it.
- Engage the community: Workshops, courses, and forums surface niche techniques you won’t find in manuals.
With the right setup, Capture One becomes a quiet partner—fast, predictable, precise.
How to Display Capture One Skills on Your Resume

4. Color Correction
Color correction adjusts white balance, exposure, contrast, and saturation so images feel accurate, consistent, and true to the scene—or purposefully stylized without drift.
Why It's Important
Accurate color builds trust. It keeps brand palettes consistent and skin tones believable across screens and prints.
How to Improve Color Correction Skills
Train your eye, then let the tools follow.
- Study color theory: Relationships, complements, and contrast inform every slider move.
- Work in RAW: Headroom matters. You’ll correct more cleanly and push less destructively.
- White balance first: Neutralize casts to reveal real color before creative grading.
- Read histograms: Avoid clipping while shaping tonality with intent.
- Use targets when possible: Gray cards and color checkers tighten accuracy on set and in post.
- Separate correction from grading: Fix truth, then pursue style.
- Practice: Iterate across varied lighting scenarios and skin tones; study print results.
- Keep learning: Courses on platforms like LinkedIn Learning can sharpen technique fast.
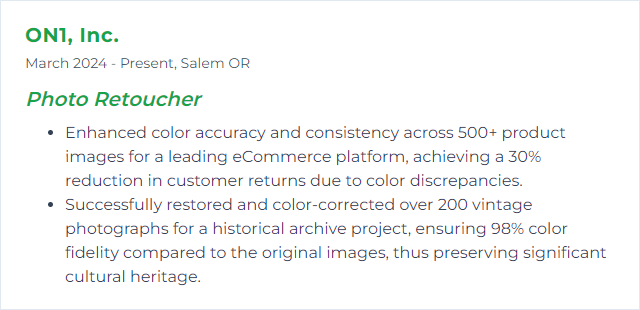
How to Display Color Correction Skills on Your Resume
5. Masking
Masking selectively hides or reveals areas so you can edit one region without touching another—surgical precision for complex subjects.
Why It's Important
Targeted edits, seamless composites, quick background swaps—masking makes them clean and reversible.
How to Improve Masking Skills
Edge control separates good from great.
- Pen Tool precision: Clean paths for hard edges and product work.
- Channel-based masks: Pull detail from individual channels to tackle hair, fur, and intricate shapes.
- Refine edges: Use edge detection, feather, and contrast to keep transitions natural.
- Layer masks everywhere: Non-destructive edits give you room to iterate.
- Brush craft: Adjust hardness, flow, and spacing; switch brushes mid-mask for better blends.
- Color and contrast prep: Pre-adjustments can make tricky extractions far easier.
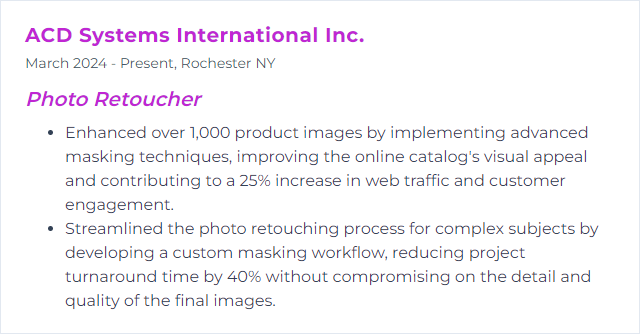
How to Display Masking Skills on Your Resume
6. Compositing
Compositing merges elements from multiple images into one believable scene—lighting, color, and perspective marching in step.
Why It's Important
It unlocks visuals you can’t capture in one shot, marrying creativity with realism for campaigns, editorial, and product hero images.
How to Improve Compositing Skills
Chase cohesion.
- Match light and shadow: Direction, intensity, softness, color temperature—it all must agree.
- Unify color: Curves, selective color, and hue/sat to push elements into the same world.
- Blend edges: Feather, paint, clone, and heal to erase the cutout look.
- Respect perspective: Vanishing points and scale cues must align.
- Add the glue: Reflections, contact shadows, ambient occlusion, and subtle grain tie pieces together.
- Zoom out often: If it breaks at a glance, it breaks—fix before polishing details.
How to Display Compositing Skills on Your Resume

7. Frequency Separation
Frequency Separation splits an image into texture (high frequency) and tone/color (low frequency) so you can refine each independently.
Why It's Important
It lets you even tones and fix blemishes while protecting pore detail—crucial for natural skin work.
How to Improve Frequency Separation Skills
Subtlety wins. Overdo it and the image collapses.
- Understand the layers: What lives in texture vs. tone—and why it matters.
- Pick the right radius: Adjust blur and high-pass settings per image until texture cleanly separates from color.
- Mask intelligently: Apply changes only where needed; protect transitions and features.
- Mix with dodge and burn: Use FS for cleanup, dodge/burn for shape and depth.
- Work zoomed out: Check realism at viewing distance, not only at 200%.
- Keep learning: Study pro workflows and iterate on your own actions for speed and control.
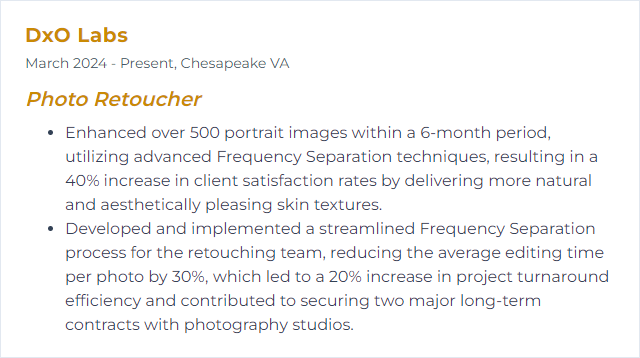
How to Display Frequency Separation Skills on Your Resume
8. RAW Processing
RAW processing converts sensor data into editable images while preserving maximum dynamic range and color information for clean, flexible edits.
Why It's Important
More data, more latitude. You can correct exposure, color, and detail without the mush and banding that often haunt compressed files.
How to Improve RAW Processing Skills
Start strong so retouching stays light.
- Choose capable software: Lightroom Classic, Lightroom, Capture One—master at least one deeply.
- Fix exposure and white balance: Establish a neutral, well-exposed base before stylizing.
- Enable lens corrections: Correct distortion, vignetting, and chromatic aberration from the outset.
- Shape contrast thoughtfully: Curves, clarity, and texture for depth without halos.
- Balance noise and sharpness: Protect fine detail while taming shadow noise.
- Use local tools: Radial, gradient, and brush adjustments for targeted refinement.
- Shoot RAW always: Give yourself room to maneuver later.
Tool choice matters less than consistency and restraint.
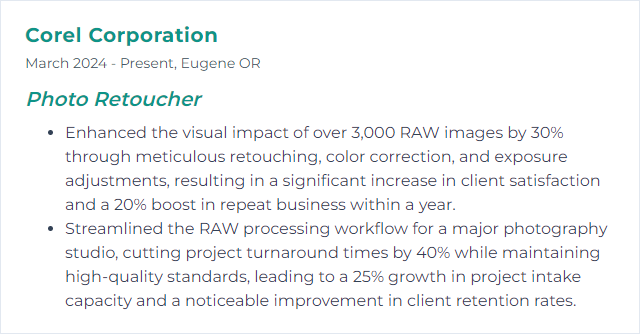
How to Display RAW Processing Skills on Your Resume
9. Pen Tool
The Pen Tool creates precise paths and selections for razor-clean cutouts, vector shapes, and controlled masks.
Why It's Important
It delivers immaculate edges, especially in product, fashion, and any high-detail object work where sloppiness shows.
How to Improve Pen Tool Skills
Patience first, speed second.
- Practice on simple shapes: Learn how handles control curvature, then compound that knowledge.
- Trace real objects: Build accuracy with complex contours and varying edge hardness.
- Use shorter segments: Fewer dramatic curves, more manageable anchor points.
- Refine anchor points: Adjust handles, convert points, and keep paths efficient.
- Adopt shortcuts: Switch tools and modifiers fluidly to stay in the zone.
- Zoom and rotate: Reframe the canvas often to keep lines clean.
How to Display Pen Tool Skills on Your Resume

10. Wacom Tablet
A Wacom tablet pairs a pressure-sensitive stylus with a mapped surface, giving retouchers natural brush control and finer precision than a mouse.
Why It's Important
Pressure, tilt, speed—your hand becomes the tool, making delicate masks, healing, and dodge/burn feel intuitive.
How to Improve Wacom Tablet Skills
Customize until it disappears and only your hand remains.
- Set pressure curves: Match pen response to your touch for consistent strokes.
- Map the tablet: Align active area to screen setup for predictable movement.
- Program ExpressKeys: Assign your most-used commands and brush toggles.
- Use the Touch or Ring controls: Map zoom, brush size, and rotation for quick tweaks.
- Maintain gear: Clean surfaces, replace nibs, and check cables for hiccups.
- Update drivers: Keep firmware and drivers current for stability.
- Practice gestures: If supported, integrate touch for navigation boosts.
- Calibrate your monitor: Pressure control is moot if color isn’t trustworthy.
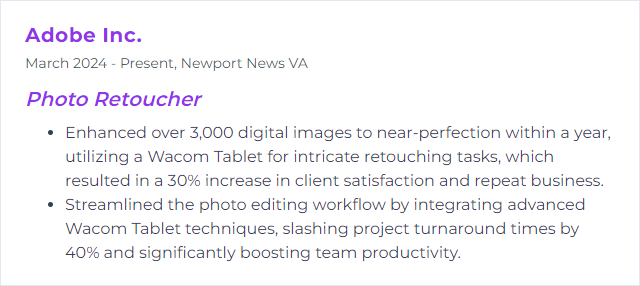
How to Display Wacom Tablet Skills on Your Resume
11. High-End Retouching
High-end retouching perfects images while keeping them real—texture intact, artifacts removed, mood elevated.
Why It's Important
Premium campaigns demand finesse. The work must be flawless on giant prints and merciless screens, yet never waxy or overcooked.
How to Improve High-End Retouching Skills
Choreograph technique with taste.
- Stay non-destructive: Layers, masks, smart filters, blend-if. Flexibility saves time.
- Master frequency separation: Use sparingly to separate cleanup from tonal work.
- Dodge and burn with intent: Sculpt form, guide attention, and add dimension at micro and macro levels.
- Control color: Harmonize palettes and refine skin hues without flattening life.
- Mind texture: Preserve pores, fabric weave, and product micro-detail.
- Reference reality: Compare to untouched frames and calibrated prints.
- Invest in study: Advanced courses and critiques (including LinkedIn Learning and pro communities) accelerate growth.
Elegance is restraint. Let the image breathe.
How to Display High-End Retouching Skills on Your Resume

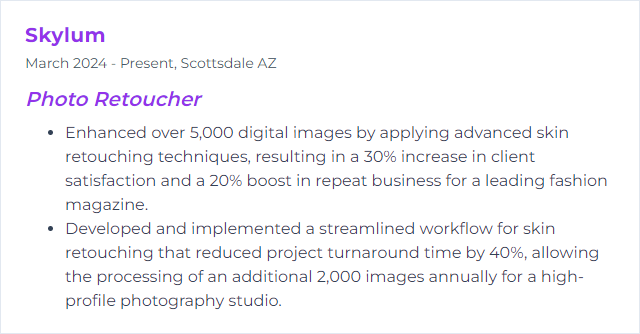
12. Skin Retouching
Skin retouching enhances complexion by removing distractions—blemishes, stray hairs, uneven tones—while maintaining authentic texture.
Why It's Important
People notice faces first. Clean, natural skin elevates portraits, beauty work, and campaigns without calling attention to the edit.
How to Improve Skin Retouching Skills
Natural over plastic, every time.
- Use frequency separation wisely: Target tone cleanup without smearing pores.
- Dodge and burn: Even out blotchiness and sculpt contours with low-flow brushes.
- Heal with care: Spot Healing, Healing Brush, and Patch Tool for isolated fixes—sample often.
- Balance color: Address redness, yellows, and uneven undertones with selective adjustments.
- Leverage adjustment layers: Keep edits reversible; stack small moves rather than big ones.
- Practice on varied skin: Different ages, tones, and lighting. Use RAW files from test shoots or public sample sets.
- Zoom discipline: Constantly toggle between 100% and fit-to-screen to judge realism.
How to Display Skin Retouching Skills on Your Resume
