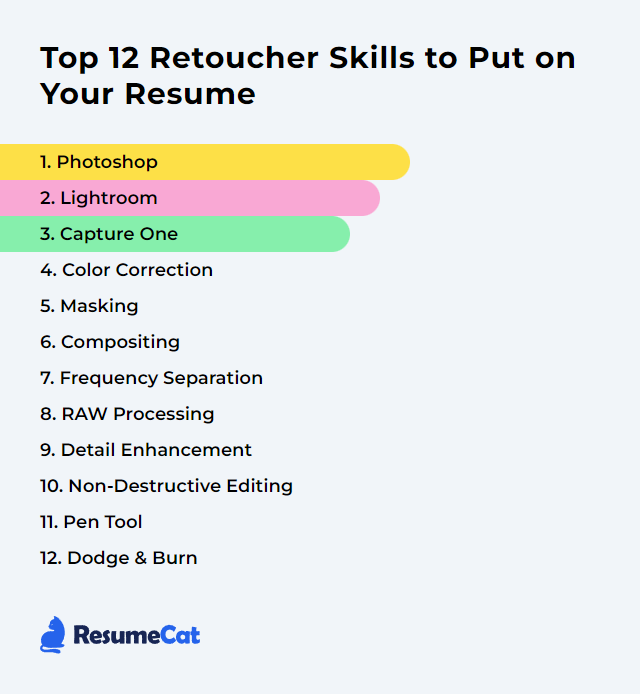
Top 12 Retoucher Skills to Put on Your Resume
In today’s image-saturated world, a strong mix of retoucher skills does more than polish pixels. It signals range, taste, and control. It tells a hiring manager you can steer a file from raw and unruly to refined and ready—without flattening the life out of it.
Retoucher Skills
- Photoshop
- Lightroom
- Capture One
- Color Correction
- Masking
- Compositing
- Frequency Separation
- RAW Processing
- Detail Enhancement
- Non-Destructive Editing
- Pen Tool
- Dodge & Burn
1. Photoshop
Photoshop is the industry’s do-it-all image editor, built for precise manipulation, restoration, enhancement, and creative transformation.
Why It's Important
It delivers granular control over tone, color, texture, and shape. Retouchers lean on it for everything from subtle cleanup to complex composites that must hold up at billboard size.
How to Improve Photoshop Skills
Push beyond basics and sharpen the fundamentals that compound over time.
Advanced layers and masks: Work with organized layer stacks, blending modes, and targeted masks. Keep edits flexible.
Selections with intent: Practice the Pen Tool, channel-based selections, and the Select and Mask workspace. Precision saves hours later.
Non-destructive as default: Adjustment layers, Smart Objects, smart filters. No hard commits unless you must.
Color mastery: Curves, Levels, Hue/Sat, Selective Color. Calibrated decisions, not guesswork.
Cleanup fluency: Healing Brush, Clone Stamp, Patch, Remove Tool. Mix methods to keep texture believable.
Detail vision: Zoom in, zoom out. Texture, edge halos, banding, color shifts—catch them before export.
Stay current: Learn modern tools like Generative Fill/Expand and the Remove Tool; they accelerate grunt work when used judiciously.
Practice with real constraints: Time-boxed exercises, varied subjects, and client-like briefs build speed and taste.
How to Display Photoshop Skills on Your Resume
2. Lightroom
Lightroom (Classic and cloud-based) handles cataloging, batch edits, and global adjustments. It’s a fast staging ground before deep-dive retouching.
Why It's Important
Speed, organization, consistency. You can correct exposure, balance color, and sync looks across hundreds of files without breaking stride.
How to Improve Lightroom Skills
Customized workspace: Surface the panels you touch constantly. Hide the rest. Less friction, more flow.
Presets and profiles: Build your own for culling, base grades, and client-specific looks. Adjust, don’t reinvent.
Smart Previews and performance: Edit lighter files for speed; tune catalog and cache settings for reliability.
Shortcuts and quick toggles: Muscle memory trims minutes off every hour.
Round-tripping: Hand off to Photoshop for specialty tasks, then drop back into the catalog seamlessly.
Ongoing learning: Explore new masking tools, AI-powered selects, and Lens Blur updates as they ship.
How to Display Lightroom Skills on Your Resume
3. Capture One
Capture One is a pro-grade RAW editor with excellent color tools, tethering, and refined control that many studio teams swear by.
Why It's Important
Clean color, crisp detail, disciplined layers. Its tethering stability on set and nuanced color handling make it a studio workhorse.
How to Improve Capture One Skills
Tailored workspace: Arrange tools to match your process—fast access to color, exposure, and layers.
Shortcut fluency: Map keys for selects, variants, local adjustments, and culling.
Layer-driven edits: Brush, feather, and refine masks for non-destructive, targeted control.
Color Balance and advanced grading: Craft mood with intent; keep skin tones honest while shaping overall palette.
Tether with discipline: Build sessions, apply on-capture styles, and review on calibrated displays for immediate feedback.
Styles and presets: Standardize looks across shoots; save time without flattening nuance.
Keep it updated: New camera profiles, speed bumps, and feature gains matter when deadlines bite.
Study real-world workflows: Analyze studio case studies and reverse-engineer their setups.
How to Display Capture One Skills on Your Resume
4. Color Correction
Color correction means aligning hues, tones, and contrast so the image looks accurate, consistent, and intentional across devices and prints.
Why It's Important
It protects skin realism, brand colors, and mood. Good color sells believability; bad color distracts instantly.
How to Improve Color Correction Skills
Know color theory: Complementary relationships, simultaneous contrast, neutrals. Make deliberate choices.
Calibrate everything: A profiled monitor is non-negotiable. What you see should match what you output.
Curves and Levels fluency: Neutralize casts, set black/white points, and guide midtones with restraint.
Reference images: Keep approved targets beside your working file. Match, then refine.
Practice color matching: Align multiple angles or scenes so they sit together without calling attention to themselves.
Keep learning: Study grading breakdowns, skin tone ranges, and print considerations. LinkedIn Learning and pro workshops help.
How to Display Color Correction Skills on Your Resume
5. Masking
Masking isolates areas so you can target edits exactly where they belong—no collateral damage.
Why It's Important
Selective control turns heavy-handed edits into invisible work. Background swaps, sky fixes, skin work, product edges—all depend on clean masks.
How to Improve Masking Skills
Pen Tool accuracy: Build confident Bézier curves. Nudge anchor points; keep handles tidy.
Refine tricky edges: Hair, fur, and fringing need Select and Mask finesse plus channel tricks.
Layer masks, always: Erase rarely. Mask often. Non-destructive editing keeps options open.
Adjustment masks: Drive color and luminosity changes through targeted masks for clean transitions.
Luminosity/Color Range selections: Select by tone or color for fast, precise targeting.
Practice on complex textures: Feathers, glass, hair, fabric weaves. Build a library of edge problems and solve them.
Stay current: New AI selection tools can jump-start the mask; manual cleanup still seals the deal.
How to Display Masking Skills on Your Resume
6. Compositing
Compositing merges elements from different frames (or entirely different shoots) into a single image that feels like it was captured that way.
Why It's Important
It unlocks scenes that can’t exist in-camera and fixes those that almost worked. Done right, the seams disappear.
How to Improve Compositing Skills
Light and shadow consistency: Direction, quality, height, and softness must match. Fake it with intention if you must.
Color harmony: Grade elements so they share the same atmosphere. Skin first, scene second.
Edge integration: Soften, defringe, and add micro-noise where needed. Hard cutouts betray the trick.
Depth of field and perspective: Blur and scale with respect to focal length and distance. Vanishing points matter.
Material truth: Reflections, texture scale, and shadow density should behave like the real thing.
Study and replicate: Analyze strong composites. Rebuild them to learn how the pieces lock together.
How to Display Compositing Skills on Your Resume
7. Frequency Separation
Frequency Separation splits texture (high frequency) from tone and color (low frequency) so you can treat each independently.
Why It's Important
It lets you smooth blotchy tones without smearing pores, or fix texture without shifting color. Subtlety keeps skin alive.
How to Improve Frequency Separation Skills
Understand the split: Choose radii that separate detail from form cleanly—too high or too low and the method fights you.
Right tools for each layer: Use the Mixer Brush on low frequency to blend tone; Healing/Clone on high frequency to correct texture.
Mask locally: Apply only where needed. Broad, global passes look plastic fast.
Protect structure: Preserve transitions around features like nasolabial folds, eyelids, and lips.
Iterate lightly: Build subtle improvements, then step back. Overcooked skin reads artificial immediately.
How to Display Frequency Separation Skills on Your Resume
8. RAW Processing
RAW processing converts sensor data into an editable image while preserving maximum latitude for exposure, color, and detail.
Why It's Important
Start strong, finish stronger. Good RAW work prevents banding, blown channels, and noisy shadows from ruining the party later.
How to Improve RAW Processing Skills
Exposure discipline: Recover highlights, lift shadows carefully, and set contrast with restraint to keep detail.
White balance accuracy: Use neutrals, memory colors, and skin references to nail temperature and tint.
Noise reduction that respects texture: Denoise without waxiness. Tools like Topaz Photo AI or built-in processors can help if applied gently.
Sharpening in stages: Input sharpening in RAW, detail enhancement later. Avoid halos.
Lens corrections: Fix distortion, vignetting, and chromatic aberration early so everything else aligns.
Thoughtful color grading: HSL, curves, and profiles to set mood while keeping skin natural.
Local adjustments: Brush, linear/radial gradients, and range masks for selective control before pixel editing.
Efficient workflow: Presets for baselines, batch processing for volume, and smart culling to protect your time.
How to Display RAW Processing Skills on Your Resume
9. Detail Enhancement
Detail enhancement lifts fine texture and micro-contrast so images feel crisp without turning crunchy.
Why It's Important
It clarifies surfaces, defines edges, and adds bite. Viewers feel the quality even if they can’t name it.
How to Improve Detail Enhancement Skills
Sharpen with purpose: Unsharp Mask, Smart Sharpen, or deconvolution—tuned for radius and threshold, not maxed out.
Frequency Separation for texture: Enhance or repair texture independently from tone for a natural finish.
Dodge and Burn: Micro D&B creates perceived sharpness by sculpting light, not just boosting edges.
High Pass for subtlety: Low-radius High Pass on soft light/overlay can add just enough bite.
Local contrast: Use clarity/texture or targeted curves to add presence in specific regions.
Know when to stop: Print tests reveal halos and over-sharpening fast. Trust them.
How to Display Detail Enhancement Skills on Your Resume

10. Non-Destructive Editing
Non-destructive editing means your original pixels stay intact and every choice can be revised later.
Why It's Important
Clients change their minds. Art directors ask for versions. Non-destructive setups turn dreaded revisions into quick pivots.
How to Improve Non-Destructive Editing Skills
Adjustment layers and masks: Stack corrections that you can tweak or toggle anytime.
Smart Objects: Scale, warp, and filter without baking damage into the layer.
Reusable look layers: Build grouped grades and effects you can drag between files.
Layer Comps: Save variations inside one document for painless comparisons.
Clone/heal to new layers: Sample all layers, keep the base clean, and maintain edit history clarity.
How to Display Non-Destructive Editing Skills on Your Resume
11. Pen Tool
The Pen Tool draws precise vector paths for selections, masks, and shapes—smooth, clean, and controllable.
Why It's Important
Product edges, hairlines on eyewear, intricate silhouettes—when auto tools wobble, the Pen Tool delivers.
How to Improve Pen Tool Skills
Curve control: Practice anchor placement and handle lengths. Fewer points, cleaner curves.
Keyboard flow: Learn modifiers to add, delete, convert, and nudge points without breaking stride.
Trace challenging shapes: Chrome edges, fabric hems, organic curves. Build dexterity through repetition.
Use path operations: Combine, subtract, and intersect shapes for complex selections.
Seek critique: Share work with retouching communities to spot wobbles and inefficiencies.
How to Display Pen Tool Skills on Your Resume
12. Dodge & Burn
Dodge & Burn lightens and darkens selectively to sculpt form, correct unevenness, and draw the eye.
Why It's Important
It’s the backbone of natural skin work and dimensional product shots. Texture remains, shape improves, distractions fade.
How to Improve Dodge & Burn Skills
Non-destructive setups: 50% gray overlay layers or curve layers with masks. Reversible, adjustable, safe.
Tablet control: Pressure sensitivity makes strokes nuanced. A tablet pays for itself quickly.
Micro vs. macro: Micro D&B for pores and tiny blemishes; macro for contour and light flow across forms.
Low opacity, slow build: 5–20% flow/opacity keeps transitions clean. Whisper, don’t shout.
See like light: Before painting, analyze where light should live. Enhance the story that’s already there.
Reset your eyes: Take breaks and flip the canvas. Fresh eyes catch overcorrections fast.
Watch pros, then iterate: Study breakdowns, then apply on varied subjects until speed and subtlety meet.
How to Display Dodge & Burn Skills on Your Resume