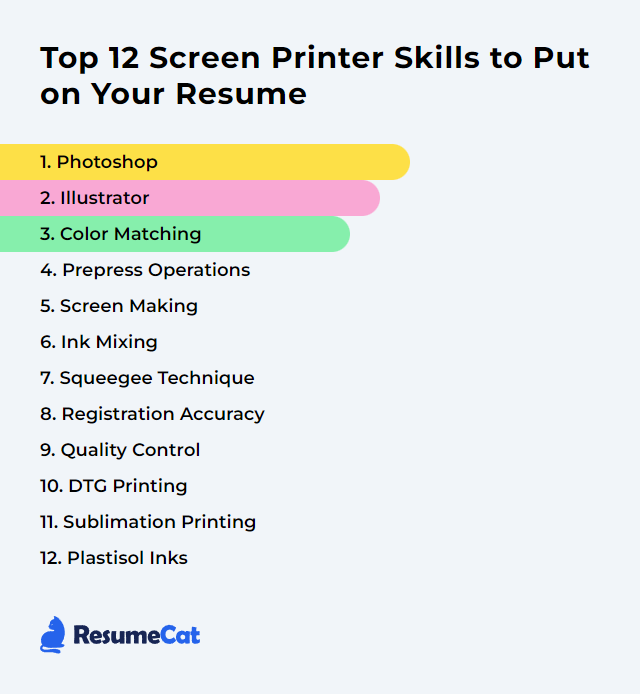
Top 12 Screen Printer Skills to Put on Your Resume
In today’s hiring climate, a sharp mix of technical chops and artistic thinking gives a screen printer real momentum. Highlight the skills below on your resume and back them with tight examples from real jobs. Precision, repeatability, and a little flair—those open doors.
Screen Printer Skills
- Photoshop
- Illustrator
- Color Matching
- Prepress Operations
- Screen Making
- Ink Mixing
- Squeegee Technique
- Registration Accuracy
- Quality Control
- DTG Printing
- Sublimation Printing
- Plastisol Inks
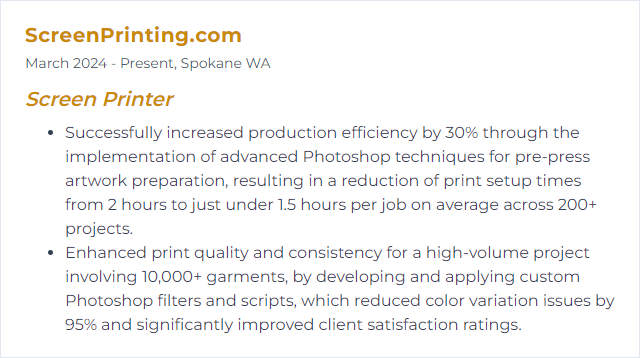
1. Photoshop
Photoshop is the workbench for cleaning artwork, building halftones, sharpening edges, and prepping channel separations that print clean and punchy.
Why It's Important
It gives you control over tonal range, spot channels, and non-destructive edits, which translates to accurate separations and less guesswork on press.
How to Improve Photoshop Skills
Dial in a practical, printer-ready workflow.
- Separation savvy: Build spot channels for solid inks, use calculated CMYK or simulated process where needed, and preview with proofing profiles.
- Resolution and scale: Prep artwork at final size with 300+ PPI for photographic work; vector or smart objects for logos so edges stay razor-sharp.
- Halftone awareness: Work with halftone-friendly contrast; plan line screens that match mesh counts and ink behavior.
- Non-destructive edits: Adjustment layers, masks, and smart filters keep your master files flexible for client changes.
- Actions and batch: Automate repetitive cleanups, resizes, and exports to keep consistency across runs.
Refine, proof, and save presets you trust. Speed follows.
How to Display Photoshop Skills on Your Resume
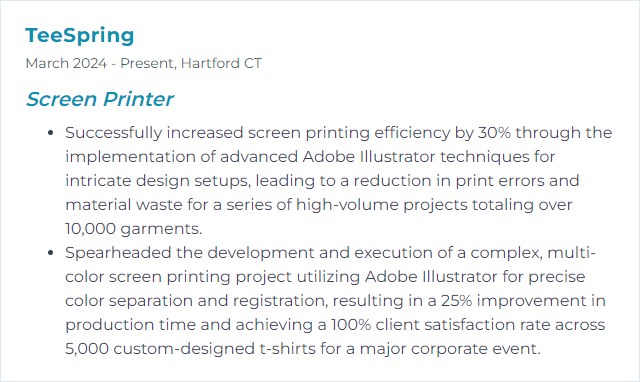
2. Illustrator
Illustrator is the vector engine for crisp logos, scalable line art, tight type, and spot-color setups that screens love.
Why It's Important
Vectors scale without fuzz. Spot colors, overprints, and trapping are simpler to manage before films ever hit the exposure unit.
How to Improve Illustrator Skills
Lean into precision.
- Vector cleanliness: Expand appearances, simplify paths, and remove stray points so films expose cleanly.
- Spot color control: Assign Pantone or custom spots, name plates clearly, and set overprint where necessary for tight registration.
- Trapping: Add micro traps (0.1–0.25 mm) to tame slight shifts on press.
- Pathfinder and shape builder: Build complex marks from simple geometry to avoid messy overlaps.
- Layer order and naming: One layer per color; consistent naming speeds separations and approvals.
- Shortcuts and styles: Graphic styles and symbols keep brand elements consistent across sizes.
How to Display Illustrator Skills on Your Resume
3. Color Matching
Color matching ensures the printed ink aligns with the specified color target—Pantone, brand swatches, or approved samples—across substrates and runs.
Why It's Important
Clients remember color. Consistency builds trust, reduces reprints, and keeps brand teams calm.
How to Improve Color Matching Skills
- Standard lighting: Evaluate under consistent lighting (D50/D65) to avoid metamerism headaches.
- Controlled environment: Keep temperature and humidity steady so inks behave predictably.
- Calibrated workflow: Calibrate monitors and use verified ink decks; maintain up-to-date swatch books.
- Accurate mixing: Weigh to 0.1 g, record formulas, and label with date/lot for repeatability.
- Substrate tests: Always proof on the actual garment or material—absorption and base tones shift perception.
- White base logic: For dark garments, tune underbases to avoid chalkiness or color shift.
How to Display Color Matching Skills on Your Resume
4. Prepress Operations
Prepress covers file checks, separations, film output, screen prep, and shop docs that get a job ready for press without drama.
Why It's Important
Smart prepress prevents wasted ink, misprints, and overtime. It’s the quiet force behind smooth runs.
How to Improve Prepress Operations Skills
- File standards: Define accepted formats, resolution, color naming, and bleed/trap rules. Enforce them.
- Separation tools: Use consistent separation methods (spot, simulated process, or CMYK) and save presets in your RIP.
- Film quality: Dense, opaque films; clean edges; proper scaling. Verify with a step wedge.
- Documentation: Job tickets with mesh, squeegee, off-contact, flash, cure, and ink notes—repeatable settings win.
- Proofing: Print approvals and strike-offs before full production. Catch issues early.
- Workflow visibility: Track approvals, versions, and deadlines so nothing gets lost in the shuffle.
How to Display Prepress Operations Skills on Your Resume
5. Screen Making
Screen making creates the stencil—mesh, emulsion, exposure—that defines what ink can pass and what stays put.
Why It's Important
The stencil is the blueprint. Detail, edge sharpness, and durability live or die here.
How to Improve Screen Making Skills
- Degrease and dry: Clean mesh thoroughly and dry in a dust-free, climate-controlled room.
- Right mesh and EOM: Match mesh count to ink/type detail; target even emulsion over mesh for consistent deposit.
- Emulsion choice: Pick diazo, dual-cure, or pure photopolymer based on ink chemistry and exposure gear.
- Exposure control: Use a step test or calculator to nail exposure; underexposed stencils break down, overexposed lose detail.
- Tension: Keep screens evenly tensioned; verify with a tension meter. Registration thanks you.
- Drying discipline: Dry coated screens horizontally, print side down, with proper airflow and humidity control.
How to Display Screen Making Skills on Your Resume
6. Ink Mixing
Ink mixing blends bases, pigments, and additives to nail color, flow, and coverage for the job at hand.
Why It's Important
Consistent formulas keep colors steady across sizes, shifts, and reorders. Less guesswork, fewer surprises.
How to Improve Ink Mixing Skills
- Weigh, don’t eyeball: Use accurate scales and record every gram. Repeatability beats memory.
- Follow swatches: Use standardized decks and keep them current; sunlight ages references.
- Mix thoroughly: Scrape cup walls, fold, then rest to release bubbles before proofing.
- Additives with intent: Curatives, stretch, soft-hand, retarders—measure and test on the actual substrate.
- Test and cure: Print a test, flash/cure at spec, then evaluate under standard light.
- Labeling: Job, date, formula, and lot numbers—future you will be grateful.
How to Display Ink Mixing Skills on Your Resume
7. Squeegee Technique
Squeegee technique is the motion, pressure, angle, and speed that push ink through the stencil and onto the substrate.
Why It's Important
It controls deposit, edge clarity, and coverage. Small tweaks here change everything on the shirt.
How to Improve Squeegee Technique Skills
- Angle: Hold about 10–20 degrees off vertical for controlled shear and consistent deposits.
- Pressure: Apply just enough to shear ink—too much floods; too little starves.
- Speed and stroke count: Even tempo; minimize strokes. One smooth print stroke often beats two shaky passes.
- Durometer choice: Softer for heavy deposits, harder or triple durometer for fine detail and control.
- Maintenance: Keep edges sharp and straight; rotate blades and replace when nicked.
How to Display Squeegee Technique Skills on Your Resume
8. Registration Accuracy
Registration accuracy is how perfectly each color aligns with the others so the final image lands sharp and steady.
Why It's Important
Misregister by a hair and it reads sloppy. Nail it and the whole print looks premium.
How to Improve Registration Accuracy Skills
- Stable screens: High, even tension and sturdy frames reduce bounce and drift.
- Pin/register systems: Use registration marks and jigs to lock consistency from setup to rerun.
- Off-contact: Set a clean snap—typically 1–2 mm depending on mesh, ink, and substrate.
- Micro-adjustments: Use micro-regs for fine tuning; tighten clamps firmly and evenly.
- Press maintenance: Eliminate play in arms, pallets, and clamps; worn parts cause creep.
- Consistent pallets: Level, properly taped, and stable. Uneven surfaces sabotage alignment.
How to Display Registration Accuracy Skills on Your Resume
9. Quality Control
Quality control checks the process and the product: color, placement, registration, feel, cure, and durability.
Why It's Important
Catch defects early, protect margins, and ship work you’re proud to sign.
How to Improve Quality Control Skills
- Define tolerances: Placement, color delta, and registration limits—write them down and train to them.
- Standardize steps: SOPs for coating, exposure, setup, print, flash, and cure bring stability.
- Sample first: Approve a pre-production sample, then lock settings for the full run.
- In-line checks: Pull pieces at set intervals; verify registration, opacity, and cure.
- Cure testing: Use temp probes/strips and stretch/wash tests to confirm true cure.
- Feedback loop: Track defects, find root causes, fix the process—not just the print.
How to Display Quality Control Skills on Your Resume

10. DTG Printing
Direct-to-garment jets ink straight into fabric fibers, opening the door for small runs and complex, full-color art without screens.
Why It's Important
It expands your menu: quick turn, photo-heavy designs, on-demand orders—no screen setup required.
How to Improve DTG Printing Skills
- Pre-treat mastery: Match pre-treat type and laydown to fabric; smooth, even coats and proper drying are non-negotiable.
- Environment: Keep humidity in the sweet spot (often ~45–55%) to prevent clogs and improve ink laydown.
- Artwork prep: High-res files, clean edges, and profiles tuned in the RIP for white/CMYK balance.
- Maintenance rhythm: Daily nozzle checks, cleanings, and proper shutdown prevent downtime.
- Press and cure: Follow time/temp/pressure specs; test wash before scaling.
- Fabric selection: 100% cotton shines. Blends vary—test, then commit.
How to Display DTG Printing Skills on Your Resume
11. Sublimation Printing
Sublimation turns solid dye into gas with heat, fusing color into polyester or polymer-coated goods for vivid, durable results.
Why It's Important
It covers items screen print struggles with—mugs, metal panels, all-over polyester prints—and handles photographic detail with ease.
How to Improve Sublimation Printing Skills
- Right materials: High-poly content garments or certified coated substrates only.
- Color management: Use proper ICC profiles and consistent print settings for predictable output.
- Press control: Even pressure, accurate temperature (often near 400°F/204°C), and timed cycles by substrate.
- Prep discipline: Lint-roll, pre-press to vent moisture, and tape transfers to prevent ghosting.
- Mirror and margin: Print mirrored artwork and allow bleed for edge-to-edge applications.
- Test cycles: Each substrate has a sweet spot—document it and repeat.
How to Display Sublimation Printing Skills on Your Resume
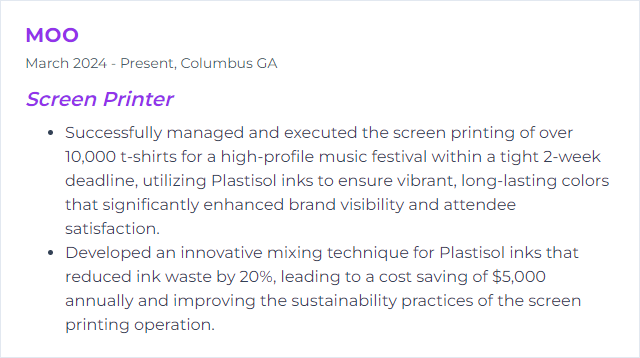
12. Plastisol Inks
Plastisol is a PVC-based ink that stays workable on screen, cures with heat, and delivers opaque, durable prints on textiles.
Why It's Important
It’s forgiving, vibrant, and versatile—great coverage on lights and darks, long runs, and special effects when you want them.
How to Improve Plastisol Inks Skills
- Mix and shear: Thoroughly shear before printing for smooth flow and consistent opacity.
- Mesh match: Pair mesh to ink/body and detail; higher mesh for fine lines, lower for bold fills or specialty bases.
- Additives wisely: Soft-hand, puff, stretch, low-bleed—measure precisely and test cure.
- Flash and cure: Gel temps around 240°F/115°C; full cure near 320°F/160°C. Verify with probes or strips.
- Poly blends: Use low-bleed blockers and controlled flash to fight dye migration.
- Durability tests: Stretch, crack, and wash tests confirm you’ve truly hit cure and adhesion.
How to Display Plastisol Inks Skills on Your Resume