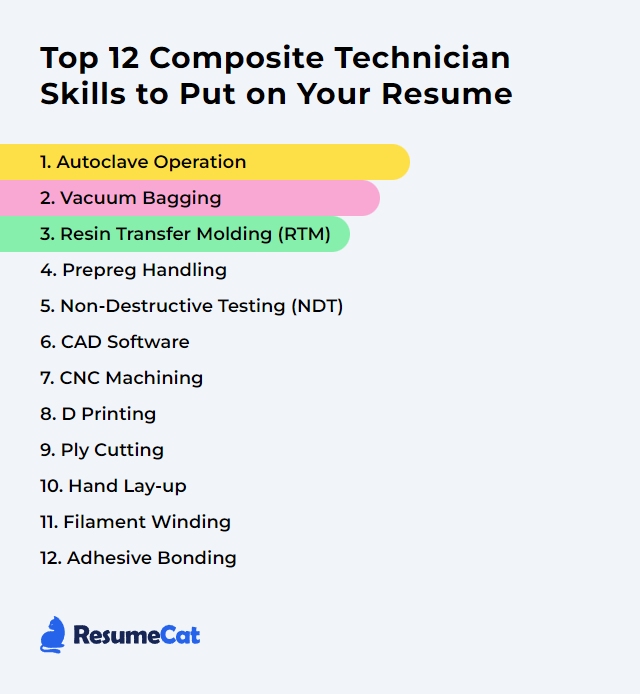
Top 12 Composite Technician Skills to Put on Your Resume
In today's competitive job market, standing out as a composite technician means showing a clear, credible set of skills on your resume. The list below spotlights 12 core composite technician skills employers look for, so you can highlight your strengths and land the role that fits.
Composite Technician Skills
- Autoclave Operation
- Vacuum Bagging
- Resin Transfer Molding (RTM)
- Prepreg Handling
- Non-Destructive Testing (NDT)
- CAD Software
- CNC Machining
- 3D Printing
- Ply Cutting
- Hand Lay-up
- Filament Winding
- Adhesive Bonding
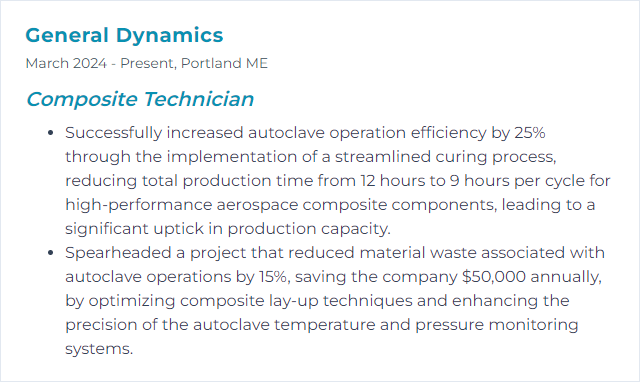
1. Autoclave Operation
Autoclave operation involves running a pressurized, heated chamber to cure and consolidate composite laminates, locking in strength, dimensional stability, and part integrity through carefully controlled temperature and pressure cycles.
Why It's Important
It’s the gold standard for high-performance composites. Controlled pressure and heat drive out voids, achieve full cure, and deliver repeatable, high-strength parts with minimal defects.
How to Improve Autoclave Operation Skills
Refine the process. Reduce risks. Boost throughput.
Preventive maintenance: Calibrate sensors, verify vacuum integrity, inspect gaskets and valves, and document cycle performance trends.
Proper loading: Use even spacing, uniform mass distribution, and adequate airflow paths. Avoid thermal shadowing and bridging.
Cycle optimization: Tune ramps, dwells, pressure setpoints, and vacuum levels to the specific resin system and laminate stack-up.
Vacuum discipline: Perform drop-tests, validate leak rates, and monitor vacuum throughout cure.
Quality controls: Use thermocouples at critical ply interfaces, log cure data, and review deviations with corrective actions.
Energy efficiency: Preheat smartly, batch parts when possible, and review insulation and door seal condition.
Consistent setup plus tight process control equals clean cures and predictable results.
How to Display Autoclave Operation Skills on Your Resume
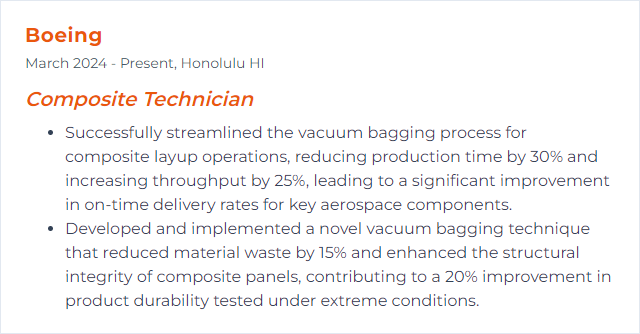
2. Vacuum Bagging
Vacuum bagging compacts the layup under vacuum, removes trapped air, and helps control resin content for consistent, lighter laminates.
Why It's Important
Better consolidation. Fewer voids. A smoother path to target fiber volume and stable mechanical properties.
How to Improve Vacuum Bagging Skills
Right stack-up: Match release films, breathers, bleeders, and bag films to the resin system and cure temperature.
Leak hunting: Seal corners, use pleats on tight radii, and perform vacuum drop checks before cure.
Bag discipline: Avoid bridging and wrinkles; tack bagging film cleanly with adequate slack around complex geometry.
Stable environment: Keep layup areas clean, temperature and humidity controlled, and materials within out-time limits.
Equipment care: Maintain pumps, traps, gauges, and hoses; verify gauges against a reference.
Process documentation: Record leak rates, vacuum levels, and debulk cycles. Iterate based on results.
How to Display Vacuum Bagging Skills on Your Resume
3. Resin Transfer Molding (RTM)
RTM places dry fiber preforms in a closed mold and injects resin to fully wet out the reinforcement, yielding clean surfaces and complex shapes with good repeatability. Variants include LRTM and VARTM.
Why It's Important
Tight control of resin content and fiber architecture, scalable to production, with solid surface quality and reduced finishing time.
How to Improve Resin Transfer Molding (RTM) Skills
Mold flow first: Plan gate and vent locations for uniform fill; use flow media or channels where needed.
Resin readiness: Select viscosity and gel time for part size and complexity; control temperature to stabilize flow.
Preform optimization: Engineer textiles, stitching, and binder content to balance permeability and performance.
Pressure control: Use sufficient injection pressure without displacing fibers; watch for race-tracking.
In-process monitoring: Track temperature, flow front, and cavity pressure; adjust on the fly when permitted.
Defect prevention: Seal parting lines, minimize leaks, and purge air pockets before full injection.
How to Display Resin Transfer Molding (RTM) Skills on Your Resume
4. Prepreg Handling
Prepregs are fiber reinforcements pre-impregnated with resin. Handling demands care with temperature, contamination, orientation, and time out of cold storage.
Why It's Important
Resin content, fiber alignment, and cleanliness make or break final properties. Mishandling shows up later as voids, weak bonds, and scrap.
How to Improve Prepreg Handling Skills
Cold-chain control: Store as specified, track freezer inventory and out-time, and thaw in sealed bags to prevent condensation.
Clean practices: Use fresh gloves, clean surfaces, and peel-ply where appropriate to keep bond surfaces pristine.
Sharp tools: Dedicated blades and cutting surfaces reduce fray and distortion; replace often.
Orientation discipline: Follow ply books religiously. Label, kit, and verify orientations before lay-up.
Debulk and compact: Debulk at defined intervals to purge air and stabilize the stack.
Cure accuracy: Hit the specified ramps, dwells, and pressures. Place thermocouples where they matter.
How to Display Prepreg Handling Skills on Your Resume
5. Non-Destructive Testing (NDT)
NDT evaluates composite parts for flaws without harming them. Think ultrasonic testing, thermography, shearography, tap testing, and radiography where appropriate.
Why It's Important
It protects structural integrity and catches hidden defects—voids, delaminations, disbonds—before they cause trouble in service.
How to Improve Non-Destructive Testing (NDT) Skills
Method mastery: Learn which technique fits which defect and geometry. Calibrate against known reference standards.
Procedure discipline: Follow approved techniques, scanning patterns, and acceptance criteria. Document meticulously.
Signal savvy: Build experience reading indications versus noise. Validate with cross-method checks when in doubt.
Equipment care: Verify probe performance, maintain couplant quality, and keep optics and sensors clean.
Feedback loop: Correlate findings with destructive tests or teardown results to sharpen interpretation.
How to Display Non-Destructive Testing (NDT) Skills on Your Resume

6. CAD Software
CAD tools help model parts, define laminate stacks, simulate draping, and generate clean data for tooling and CNC programs.
Why It's Important
Accurate models cut rework. Composite-aware features save time, improve manufacturability, and keep ply books consistent.
How to Improve CAD Software Skills
Composite features: Learn laminate definition, ply stacking, drape simulation, and flat pattern extraction.
Parametrics: Drive critical dimensions with parameters and design tables to update variants swiftly.
DFM mindset: Model with tooling splits, draft, radii, and minimum bend limits in mind.
CAM handoff: Organize layers, naming, and coordinate systems so downstream NC programming is clean.
Templates and standards: Build title blocks, material libraries, and ply book templates to enforce consistency.
Version control: Use controlled releases and revision tracking to keep shop-floor data in sync.
How to Display CAD Software Skills on Your Resume
7. CNC Machining
CNC machining cuts, drills, and shapes composite parts and tooling to tight tolerances using toolpaths derived from digital models.
Why It's Important
Precision, repeatability, and clean edges—especially vital for holes, trim, and mating features in assemblies.
How to Improve CNC Machining Skills
Tool selection: Use compression cutters, diamond-coated tools, and low-helix drills designed for composites to reduce delamination.
Feeds and speeds: Optimize chip load to limit heat; avoid dwelling at breakout.
Fixturing: Vacuum fixtures, soft jaws, and proper support stop chatter and edge tear-out.
Dust control: Robust extraction protects operators and the part. Keep filters fresh.
Machine health: Calibrate axes, check spindle runout, and maintain ball screws and ways.
How to Display CNC Machining Skills on Your Resume
8. 3D Printing
3D printing builds parts layer by layer. In composites, this ranges from chopped-fiber-filled filaments to continuous-fiber reinforcement systems for stiff, lightweight geometries.
Why It's Important
Rapid iteration. Complex internal features. Fixtures, tools, and even end-use parts that would be painful with conventional methods.
How to Improve 3D Printing Skills
Material choices: Match filament or resin to the job—temperature resistance, strength, toughness, and fiber content.
Process tuning: Dial in temperature, layer height, infill, and orientation to manage anisotropy and strength.
Continuous fiber know-how: Place fibers along load paths; avoid tight radii that cause fiber buckling.
Post-processing: Anneal, infiltrate, or sand/seal surfaces to improve mechanicals and finish.
Simulation and validation: Use slicing previews and lightweight FEA to anticipate weak zones.
How to Display 3D Printing Skills on Your Resume
9. Ply Cutting
Ply cutting trims individual composite plies to precise shapes and sizes, ready for kitting and lay-up.
Why It's Important
Accuracy here locks in fiber orientation and coverage, reducing rework and waste while protecting mechanical performance.
How to Improve Ply Cutting Skills
Nesting strategy: Use efficient nesting to minimize scrap and maintain grain/angle control.
Tooling matters: Keep blades sharp, tables clean, and consider automated cutters for consistency.
Label and kit: Clear IDs, orientation markings, and ply books keep the lay-up moving smoothly.
Dimensional checks: Verify critical features with templates or digital measurement before release to lay-up.
Safety and cleanliness: Manage fibers and dust, protect edges, and keep foreign object debris out of kits.
How to Display Ply Cutting Skills on Your Resume
10. Hand Lay-up
A manual process placing plies into a mold, wetting out or using prepreg, then compacting layer by layer for control over orientation and thickness.
Why It's Important
It shines for custom shapes, low tooling costs, and precise local reinforcement where you need it most.
How to Improve Hand Lay-up Skills
Surface prep: Clean molds and apply release agents evenly for better finish and part release.
Cut-to-fit: Pre-cut, pre-fit, and pre-label plies to maintain tempo and accuracy.
Air removal: Use rollers and squeegees to chase out voids; debulk between critical stacks.
Resin control: Target resin content with measured application and bleeder where needed.
Cure control: Follow the specified cycle; monitor temperatures and ensure uniform pressure if bagging.
Inspection: Watch for bridging, wrinkles, fiber wash, and edge defects—fix early.
How to Display Hand Lay-up Skills on Your Resume
11. Filament Winding
Continuous fibers are wound onto a mandrel in precise patterns, resin-cured into strong cylindrical or complex shapes with tailored stiffness.
Why It's Important
High fiber alignment, efficient material usage, and excellent repeatability for pressure vessels, tubes, and structural shells.
How to Improve Filament Winding Skills
Material prep: Control resin viscosity and fiber tension; ensure tow cleanliness and consistent resin pickup.
Tension control: Maintain stable, monitored tension to prevent gaps, overlaps, and fiber fuzz.
Pattern optimization: Select helical, hoop, or polar patterns to match load paths and minimize residual stress.
Mandrel strategy: Design for removal or dissolution; manage thermal expansion during cure.
Cure schedule: Use proper ramps and dwells; consider post-cure for peak properties.
Verification: Check fiber angles, thickness, and defect presence via measurement and NDT.
How to Display Filament Winding Skills on Your Resume
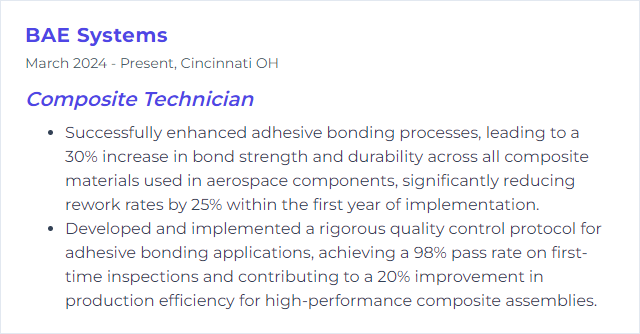
12. Adhesive Bonding
Joining components with engineered adhesives to achieve strong, lightweight bonds while avoiding fastener-induced stress concentrations.
Why It's Important
Clean load paths, minimal weight, and the ability to join dissimilar materials without drilling holes.
How to Improve Adhesive Bonding Skills
Surface preparation: Clean, abrade, solvent-wipe, and use peel-ply where applicable. Verify surface energy when needed.
Adhesive selection: Match chemistry to substrates, environment, and loads (toughened epoxies, film vs paste, cure profile).
Bondline control: Use shims or beads to maintain thickness; manage squeeze-out and spew.
Application technique: Mix properly, avoid air entrapment, and apply uniformly.
Cure conditions: Control temperature, pressure/fixturing, and time; confirm with witness coupons.
Validation: Peel, lap shear, or wedge tests as specified; inspect for disbonds and voids.
How to Display Adhesive Bonding Skills on Your Resume