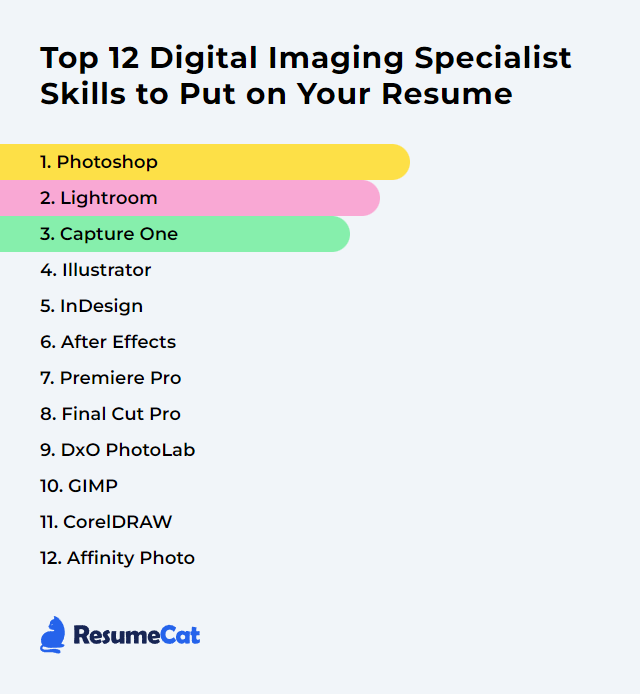
Top 12 Digital Imaging Specialist Skills to Put on Your Resume
In today's visually hungry market, a Digital Imaging Specialist stands apart by blending technical chops with creative nerve. A lean, truthful resume that spotlights the right skills can tilt the room in your favor, proving you can turn raw pixels into images that speak, sell, and stick.
Digital Imaging Specialist Skills
- Photoshop
- Lightroom
- Capture One
- Illustrator
- InDesign
- After Effects
- Premiere Pro
- Final Cut Pro
- DxO PhotoLab
- GIMP
- CorelDRAW
- Affinity Photo
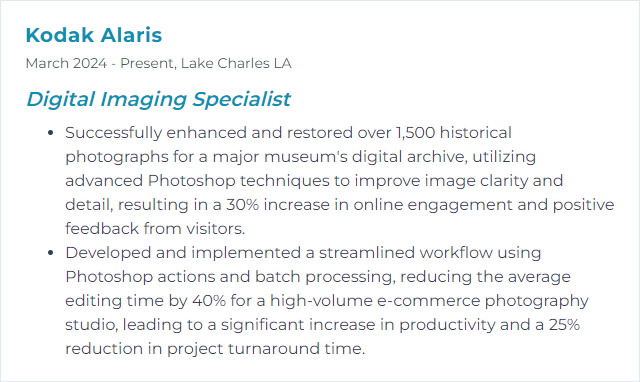
1. Photoshop
Photoshop is a powerhouse for image editing, compositing, and design—built for manipulating, enhancing, and creating visuals from subtle retouching to full-blown artwork.
Why It's Important
For a Digital Imaging Specialist, Photoshop is the control room. Precise retouching, non-destructive workflows, advanced masking, smart objects, and modern generative tools let you produce durable, high-quality work at speed.
How to Improve Photoshop Skills
Sharpen your edge through steady practice and smarter habits:
Learn the muscle memory: Keyboard shortcuts, custom workspaces, and actions trim hours off repetitive tasks.
Edit non-destructively: Adjustment layers, masks, smart objects, and smart filters keep options open.
Master selections and masks: Refine selections, Select Subject, channels, and Blend If for tricky edges and clean composites.
Work in Camera Raw: Use profiles, masks, and lens corrections for foundational quality before pixels get pushed.
Use AI where it earns its keep: Generative Fill, Remove Tool, and Select sky/subject speed cleanup and ideation.
Color confidence: Curves, LUTs, 16‑bit files, soft proofing, and proper color settings reduce surprises.
Keep a sandbox: Personal projects let you test wild ideas without client pressure.
Consistency comes from process. Creativity lands when the basics disappear under your fingertips.
How to Display Photoshop Skills on Your Resume
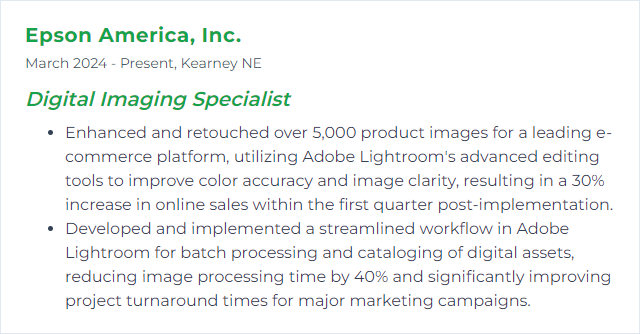
2. Lightroom
Lightroom (Classic and cloud-based) handles photo organization, raw development, and batch editing with speed, consistency, and calm control.
Why It's Important
It’s the backbone of high-volume workflows: culling, cataloging, color work, targeted adjustments, and export presets—all streamlined and repeatable.
How to Improve Lightroom Skills
Level up with practical moves:
Tune performance: Build smart previews, optimize catalog settings, and use GPU acceleration where it helps.
Exploit modern masking: AI Subject/Sky/Background, People masking, and range masking for surgical edits.
Presets and profiles: Create reusable looks and baseline corrections to normalize sets fast.
Denoise and detail: Use AI Denoise, lens corrections, and sharpening thoughtfully—always zoomed to 100%.
Collections, keywords, and naming: Strong taxonomy now saves time forever.
Tethered capture: For studio sessions, shoot straight into Lightroom Classic and adjust on the fly.
Backups and versioning: Protect catalogs and images with a predictable, tested backup routine.
A clean catalog and consistent presets make even massive shoots feel light.
How to Display Lightroom Skills on Your Resume
3. Capture One
Capture One is a pro-grade raw processor and tethering titan, renowned for color control, session workflows, and studio reliability.
Why It's Important
It shines in color management, tethered capture, and nuanced local adjustments—ideal for commercial sets where speed and precision are non-negotiable.
How to Improve Capture One Skills
Dial in your setup and habits:
Customize everything: Tool tabs, shortcuts, workspaces, dual monitors—make the interface serve your flow.
Use Layers and Luma Range: Target tones and colors cleanly without muddy global changes.
Styles and Recipes: Bake consistency into large sets; export recipes for multi-output delivery.
Tether like a pro: Live view, overlay guides, and capture naming keep teams aligned during shoots.
Color authority: Color Editor, skin tone tools, and profiles for accurate, repeatable grading.
Speed Edit and shortcuts: Minimal mouse travel, maximum throughput.
Keep current: New releases often bring performance boosts and quality improvements.
Set it up once, and the gains compound over every session.
How to Display Capture One Skills on Your Resume
4. Illustrator
Illustrator is the vector workbench for logos, icons, typography, and scalable artwork that stays razor-sharp at any size.
Why It's Important
Digital Imaging Specialists need pixel perfection and infinite scalability; vector tools deliver both with surgical control.
How to Improve Illustrator Skills
Grow precision and speed:
Pen mastery and Bezier control: Clean paths save hours later.
Shape Builder, Pathfinder, and Intertwine: Build complex forms fast and clean.
Appearance panel and Graphic Styles: Stack effects non-destructively and reuse them.
Brushes and Variable Width: Organic strokes without mess.
Recolor and color workflows: Systematic palette changes across whole documents.
Asset Export and SVG hygiene: Deliver crisp, lightweight graphics for web and apps.
Type and variable fonts: Advanced typography, grids, and optical alignment for polished layout systems.
Your vectors should feel simple under the hood, even when the art looks complex.
How to Display Illustrator Skills on Your Resume
5. InDesign
InDesign is the layout engine for long-form and structured documents—magazines, books, brochures, interactive PDFs, and digital publications.
Why It's Important
It combines typography finesse with layout automation, making large, complex documents consistent, accurate, and easy to update.
How to Improve InDesign Skills
Make structure your ally:
Styles everywhere: Paragraph, character, object, and nested styles tame revisions and scale design systems.
GREP and Find/Change: Automate formatting and cleanups in seconds.
Master pages and libraries: Lock in layout logic and reusable components.
Preflight and packaging: Zero-mistake handoffs for print and digital.
Interactive outputs: Buttons, hyperlinks, animation basics, and Publish Online for lightweight digital sharing.
Roundtripping: Clean pipelines to and from Photoshop and Illustrator for art updates without chaos.
When the document grows, your setup pays off tenfold.
How to Display InDesign Skills on Your Resume
6. After Effects
After Effects is the compositing and motion graphics stage—titles, VFX, animation, tracking, and polished visual storytelling.
Why It's Important
It bridges static imagery and moving frames, letting specialists craft sequences that carry mood, message, and momentum.
How to Improve After Effects Skills
Work faster, render smarter:
Multi-Frame Rendering: Configure caches and settings to squeeze every drop from your machine.
Expressions and essential properties: Automate, rig, and reuse to avoid hand-animating tedium.
Precomps and parenting: Keep comps tidy, modular, and flexible.
Track and stabilize: 3D Camera Tracker, planar tracking, and motion tracking for believable composites.
Content-Aware Fill for video: Smart removals without frame-by-frame pain.
Color pipelines and formats: ACES/linear workflows when required; export settings tailored to delivery.
A good graph editor session can make motion feel alive instead of mechanical.
How to Display After Effects Skills on Your Resume
7. Premiere Pro
Premiere Pro is a professional non-linear editor for cutting, refining, grading, captioning, and delivering video content.
Why It's Important
It anchors editorial workflows with tight integrations, strong audio tools, and export reliability across platforms and codecs.
How to Improve Premiere Pro Skills
Edit with intention and speed:
Proxies and performance: Use proxies for heavy footage; tune playback and cache settings for smooth timelines.
Text-Based Editing and Speech to Text: Rough cuts and captioning come together quickly.
Auto Reframe and Scene Edit Detection: Reformat and conform archival or long renders without drudgery.
Lumetri discipline: Correct, then grade; scopes on, reference up, white balance first.
Productions and shared projects: Keep big shows organized across teams.
Shortcuts and custom workspaces: One keystroke closer to the next cut.
Clean media management and naming prevent mess before it starts.
How to Display Premiere Pro Skills on Your Resume

8. Final Cut Pro
Final Cut Pro is Apple’s fast, magnetic-timeline editor for Mac, with a companion version available on iPad for mobile productions.
Why It's Important
It offers rapid assembly, strong color and audio tools, and rock-solid performance—great for solo editors and lean teams.
How to Improve Final Cut Pro Skills
Lean into the strengths:
Magnetic Timeline and Roles: Keep structure clear and make targeted exports painless.
Multicam and sync: Sync by waveform and switch angles fluidly.
Object tracking and masks: Pin effects and grades to moving subjects without fuss.
ProRes workflows: Low-latency editing with pristine results.
Organize hard: Smart collections, ratings, keywords—find anything fast.
Extend with plugins: Add transitions, titles, effects that fit your style, when needed.
Speed is the headline, but structure is the plot.
How to Display Final Cut Pro Skills on Your Resume
9. DxO PhotoLab
DxO PhotoLab is a raw processor and editor known for top-tier denoising, lens/camera profiles, and elegant local adjustments.
Why It's Important
Its optical corrections and DeepPRIME/DeepPRIME XD denoising can rescue high-ISO files and sharpen lenses into shape, delivering clean, faithful results.
How to Improve DxO PhotoLab Skills
Focus on fidelity and nuance:
Start with optics: Apply camera/lens modules, distortion and vignetting fixes, and Lens Sharpness early.
DeepPRIME XD wisely: Use on noisy files; balance detail with natural texture.
Smart Lighting and ClearView Plus: Recover tonal range and cut haze without overcooking.
Local adjustments with U Point: Control points and lines for fast, targeted corrections.
Presets and workspaces: Build repeatable looks and put frequently used tools within reach.
Stay current: Updates often add modules and image quality improvements.
Let DxO handle the physics; you handle the taste.
How to Display DxO PhotoLab Skills on Your Resume
10. GIMP
GIMP is a free, open-source image editor offering layers, masks, advanced filters, and a growing ecosystem of plugins.
Why It's Important
It’s accessible, flexible, and capable—great for teams or freelancers who need serious tools without subscription overhead.
How to Improve GIMP Skills
Make it yours and make it quick:
Customize the interface: Edit > Preferences > Interface to adjust theme, icons, and single-window mode. Save a layout that matches your habits.
Extend with plugins: Add suites like G’MIC for high-end filters and effects.
Keyboard shortcuts: Edit > Preferences > Keyboard Shortcuts—map commands you hit hourly.
Color management: Edit > Preferences > Color Management and a calibrated display for predictable output.
Tablet setup: Edit > Preferences > Input Devices for pen pressure and tool mapping.
Keep updated: New builds bring GEGL improvements, better performance, and bug fixes.
Practice and share: Community forums and challenges surface new techniques quickly.
With the right setup, GIMP punches far above its price tag—free.
How to Display GIMP Skills on Your Resume

11. CorelDRAW
CorelDRAW is a vector design suite for illustration, layout, and production-ready graphics.
Why It's Important
It offers robust vector tools, color management, and layout features favored in signage, print, and branding pipelines.
How to Improve CorelDRAW Skills
Work smarter, draw cleaner:
PowerTRACE and shaping: Convert and refine vector art cleanly from scans or bitmaps.
Styles and object management: Keep branding consistent across documents.
Mesh fills and gradients: Add subtle shading without heavy files.
Symbols and assets: Reuse components, maintain consistency, and speed layout work.
Color workflows: Spot color, Pantone libraries, and print-safe setups for dependable output.
Workspace customization: Put precision tools where your cursor lives most of the day.
A controlled file structure beats a beautiful mess every time.
How to Display CorelDRAW Skills on Your Resume
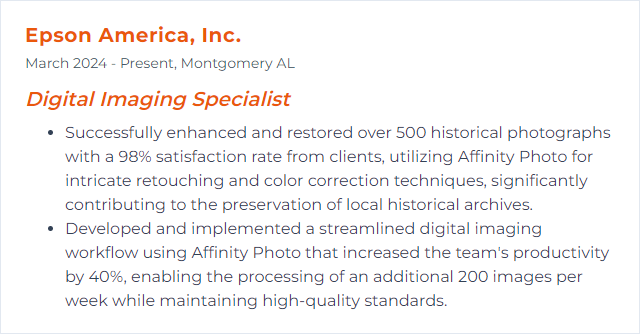
12. Affinity Photo
Affinity Photo is a fast, professional editor with non-destructive workflows, RAW processing, and deep PSD compatibility—now in its second major generation.
Why It's Important
It delivers pro-grade tools at a one-time cost, making it a strong option for individuals and teams seeking control without subscriptions.
How to Improve Affinity Photo Skills
Lean into what makes it nimble:
Layers, masks, and Live Filters: Non-destructive edits you can tweak later without starting over.
Live and compound masks: Target tone, color, and geometry with precision.
Macros and batch processing: Automate repetitive tasks; keep results consistent.
RAW re-editing: Non-destructive Develop adjustments you can revisit as images evolve.
Frequency separation and retouching: Clean skin and texture work with finesse.
Color spaces and soft proofing: Work wide-gamut, proof for destination, avoid last-minute surprises.
Personas and workflow: Move between Photo, Liquify, and Develop Personas with intent.
It’s quick, sturdy, and happy to handle heavy files without flinching.
How to Display Affinity Photo Skills on Your Resume